Advanced Database Field Customization - Invoice Manager for Excel
The Advanced Database Field Customization tool allows you to alter the size of the standard database fields that are defined by the default Invoice Manager for Excel database configuration. It also allows you to change the text alignment option of the fields shown on the data list windows.
Note : If you are not familiar with database, contact our service team before doing any modifications to the standard fields.
Note : Modifying database fields incorrectly could damage the database and prevent Invoice Manager for Excel from functioning properly. It is highly recommended that you backup the database file before modifying the fields.
If your template is connecting with an Access database, you can also backup the database file by firstly exit Microsoft Excel (and any other applications / programs that connect with the database, and then copy the database file using Windows Explorer.
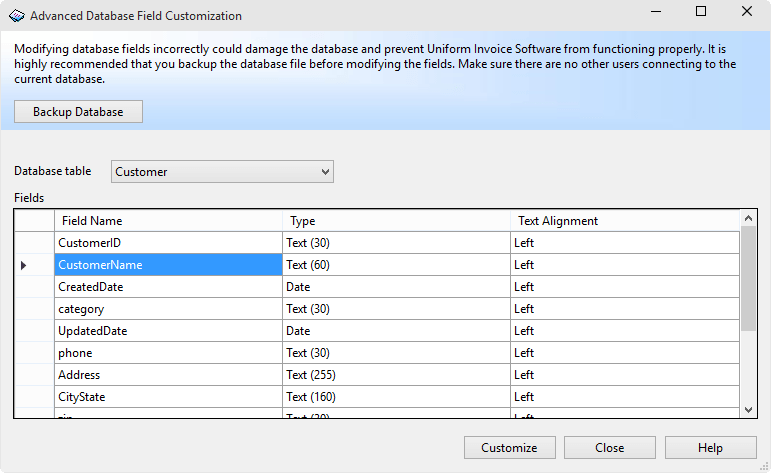
(Figure taken on Windows 10)
To open the Advanced Database Field Customization tool:
- Open any data list window. For example, open the "Customers" data list window by clicking "Customers" on the "Invoice" ribbon tab.
- Click "Custom Fields" on the toolbar.
- Click "Advanced" to open the Advanced Database Field Customization tool.
Unlike the "Custom Field Manager" tool, which shows only custom fields defined for each database table, the Advanced Database Field Customization tool shows all the fields, including standard fields.
To change the size (or precision and scale) of a field:
- Open the Advanced Database Field Customization window as detailed above.
- Click the "Backup Database" button to backup your current database. This allows you to easily return to a working state whenever something goes wrong.
- From the "Database table" list, choose the table you want to customize.
- Double-click the field name for
which you want to customize its type. This opens the "Customizing
Field" window:
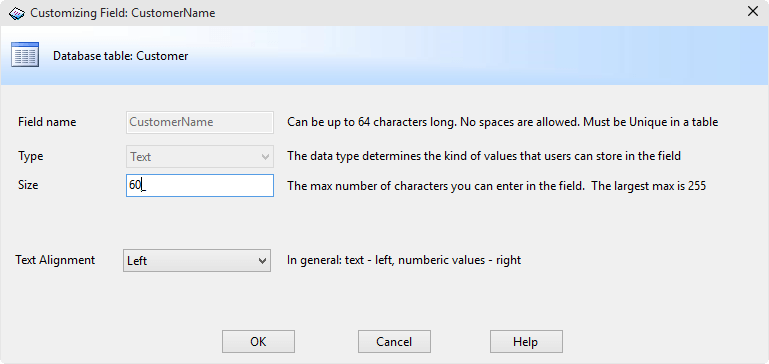
Modifying a standard field (Figure taken on Windows 10) - Set the field size for a text field, or precision / scale for a decimal field.
- Click OK.
Note that if you change the size of the text field, you may also need to change the data validation of the corresponding cell. For example, if you change the size of customer name field to 80, to change the data validation of the Excel cell, follow the steps below.
- When the Invoice worksheet is active, push the "Design Mode" button on the "Invoice" ribbon tab.
- Click and choose the customer name cell that is named "oknWhoName".
- Go to "Data" Excel ribbon tab, and then click "Data Validation" in the "Data Tools" group.
- Specify the new validation - for this example, you just need to modify the "Maximum" field to be 80.
- Exit design mode.
- Save the invoice template.